Friday, March 4, 2011

Eco-Romance: Green Gifts for Guys

Whether you've been dating for years or just a few days, finding the perfect gift for a boyfriend or a spouse is almost always a challenge. Men are difficult to shop for in general, and it's even harder to find something that expresses your romantic feelings. If you want to show your beau how much you care and give him something that won't cost a fortune or harm the environment, consider making him a personalized gift.

A homemade gift often means more than a store-bought one.

Memories
There's nothing more romantic than a gift that will remind him of you. Decorate a picture frame with a photograph of the two of you, personalizing it with a quote about love or a lyric from your song. If you enjoy crafts, make the frame yourself from recycled materials or use an unusual object to hold the picture, like a wine bottle or a soccer ball. Another item you can make to memorialize your relationship is a memory box. This can be as simple as decorated cardboard, or it can be as intricate as hand-carved wood. Put mementos of your relationship inside, such as ticket stubs from movies you've seen together, playbills from a show you watched, or a matchbook from a restaurant you frequent.


Nature
If your boyfriend is an outdoorsman or an environmentalist, make him something that appeals to his nature-loving side. Purchase a plain terra-cotta pot and decorate the outside with a poem you wrote, a quote from his favorite song, or a photograph of the two of you. Plant a flower or a shrub in it, selecting a specimen that corresponds to his personality. (I.e., don't buy him a delicate African violet if he's never going to remember to water it.)


You could also sew him a grocery bag so he doesn't have to use plastic or make him soap using all-natural ingredients.

Baked Goods
The way to a man's heart is through his stomach. To entice his taste-buds and his heart, bake him a cake in his favorite flavor and decorate it with something unique to his personality. For instance, if your boyfriend loves playing basketball, bake the cake in the shape of a basketball or turn the top of the cake into a basketball court. Alternatively, bake a batch of uniquely flavored or specially shaped cookies, delicate macaroons, wispy meringues or a special pie. If he doesn't like baked goods, you could also make him a personalized ice cream flavor, uniquely flavored chocolates, a jar of special cocoa or hand-dipped chocolate fruits.
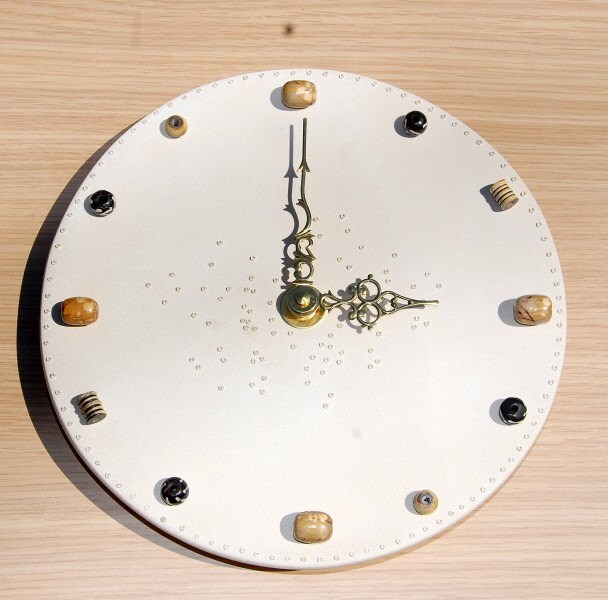
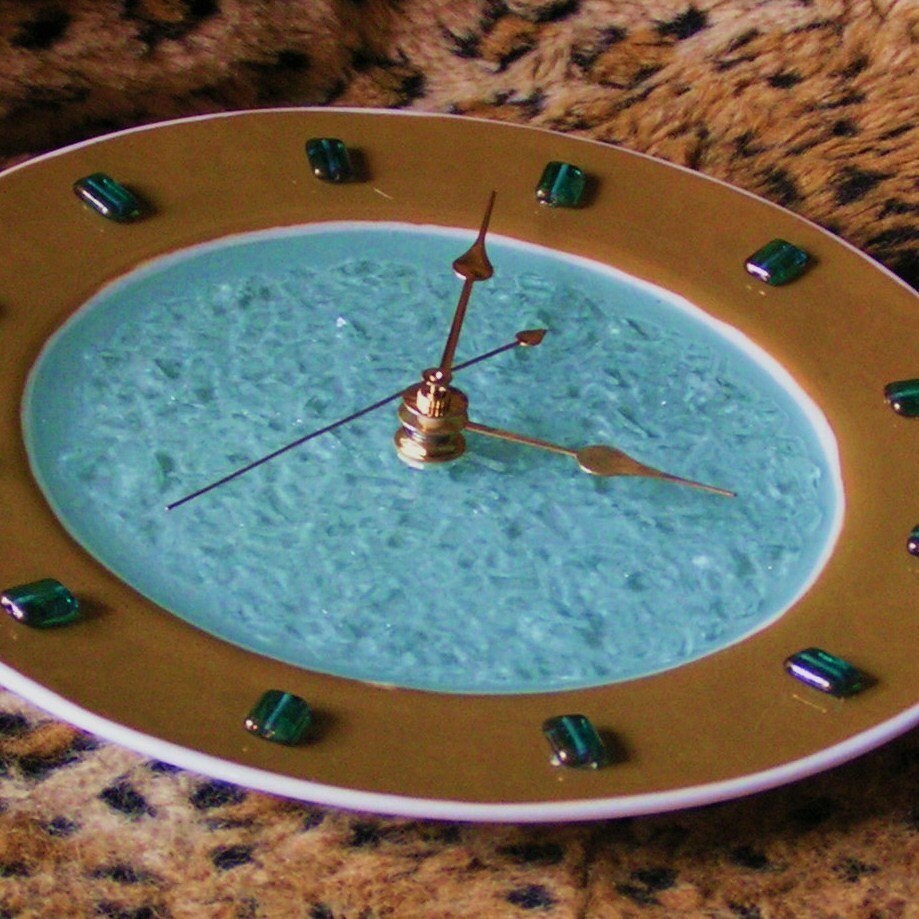
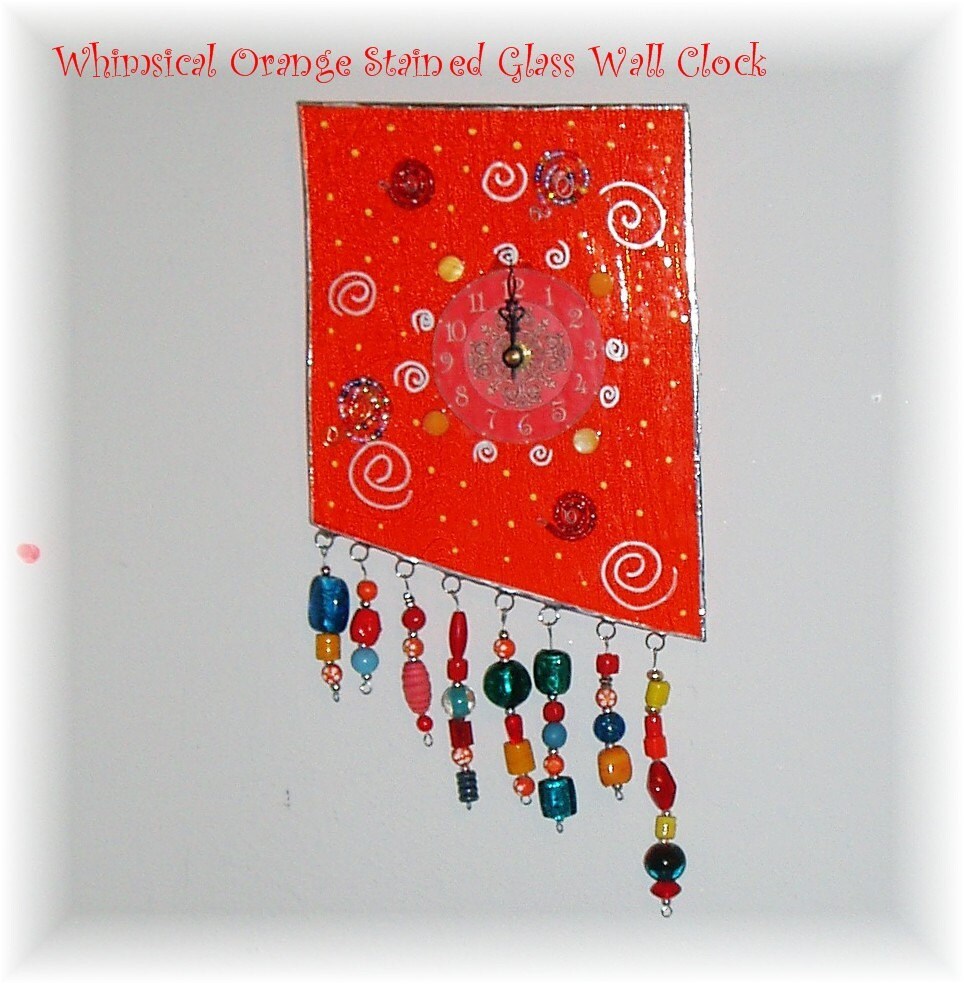
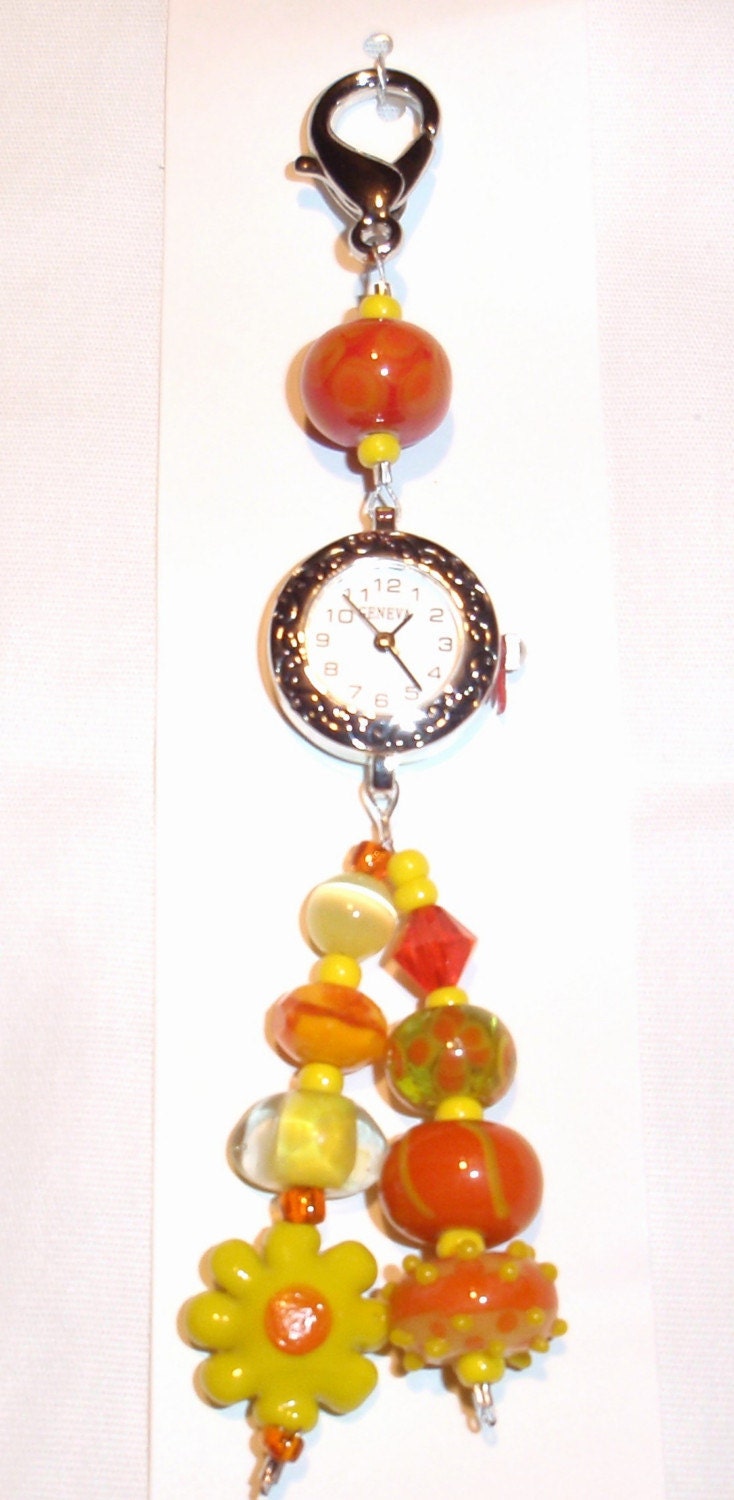


Useful Objects
Practical birthday gifts are always appreciated, especially when they are handmade. Make him a clock from an object that reflects something about his personality, such as an old record for a music lover or a Dali print for an artist. Make him a personalized keychain if he really likes his car, or a planetarium lamp shade that casts the constellations if he loves astronomy. You could also construct a chessboard and chess pieces from found objects or scrap metal, decorate a reusable coffee cup or a water bottle, sew him a pair of fuzzy slippers or make him a personalized mouse pad.


Thursday, March 3, 2011

Personal Time: Upcycling Clocks with Beads

If you're looking to redecorate, don't rush out to buy a new clock. Instead, spruce up an old timepiece with an assortment of colorful beads. Personalized beaded watches and clocks also make intriguing, economical and useful gifts.


Beaded Designs
Draw designs on the face of the clock with glue. You could write over the numbers, make a spiral, draw a wreath of flowers -- whatever suits the room or the recipient. Let the glue dry a bit so it gets a little tacky, then place your selected beads on the glue. For an elegant effect, use different shades of a single color or a mix of black, gray and white; use mismatched multi-colored beads for a funky, hip look.


Face of Beads
Cover the face of the clock with glue and pour tiny beads all over the face of the clock so that it is entirely covered, smearing them out and making sure that the beads don't block the hands of the clock. Put larger, decorative beads in the places where the numbers used to be. Try using all black or all white beads with a tiny bit of color on the face, then putting rich azure, emerald or scarlet beads in place of the numbers to create dramatic contrast.


Melted Beads
Thread plastic beads of your choice on a long, thin piece of wire. Wrap the wire in a spiral, or wrap several lengths of beaded wires in concentric circles. Set the threaded spiral or circles in a pie tin, and put it in the oven for 10 minutes at 350 degrees. You can also simply pour a medley of beads into the pie tin, smoothing them out to create an even layer. The beads will melt together, creating a solid clock face. Let it cool for several hours, then pop it off the pie tin. Poke a hole in the center with a nail. Take another clock apart for the hands and time-keeping mechanism, or make your own, and attach them to your new clock face.


Hanging Beads

Thread any beads of your choice on ribbons or wire. Put a larger decorative bead at the bottom, or space out several large beads with smaller, solid colored beads in between. Tie off the ribbon at the bottom or pinch off the wire so that the beads don't fall off. Glue these pieces on your clock at varying intervals and with varying lengths. Make sure that they don't hang in a place where they will interfere with the hands of the clock.


Watch Band
Find an old watch face and thread beads on a piece of ribbon or string to attach to it. 


Other Ideas
Earrings, necklaces, keychains, bookmarks, bottle openers...


Wednesday, March 2, 2011

Solar Panel Safety

With a flurry of recent solar panel related fires, some would-be solar buyers are wondering if these alternative energy products are safe enough for their homes and businesses. While these fears are largely misplaced, solar energy is not without some inherent risks, as is almost any product, especially if it is not properly installed. However, the few hazards posed solar panels are easy to avoid through regulation and education.

In order to understand the potential dangers of solar panels, it helps to know what one is. Essentially, a solar panel is a grid of wafer-thin disks called photovoltaic cells, which are usually made of crystalline silicon. When photons of sunlight bounce off the surface of these highly-polished "PV" cells, they knock electrons out of their orbits. The electrons then pass through a special converter called a p-n junction diode, which essentially turns them into electrical energy. PV cells are connected with wire conductors and spread on a special layer of thermally conductive cement, which helps keep the panel from overheating. A layer of glass or faux glass usually protects the cells on both sides.


Although solar panels have protective measures to prevent overheating, they must still be installed with caution. There is little danger of panels spontaneously combusting, but solar panels should be elevated off of surfaces so that air can flow and cool them. It is also better to install solar panels high off the ground so they receive unobstructed ventilation.

Faulty wiring is frequently the cause solar panel fires, so if this isn't your forte, have a professional wire the system. If you do choose to wire things yourself, make sure wire is big enough to handle the power in your system, that it is well insulated, and that it is either grounded or tied to the grid to protect against lightning strikes.


Solar panels are relatively easy to maintain, but they can get very hot. Any organic materials that touch a solar panel could potentially burst into flames. Always keep combustible materials away from your solar panels, and trim back any nearby tree branches - this will also help keep your panels out of the shade and make them more efficient. Keep your panels clean by hosing them down or wiping them off with a rag and some glass cleaner. Monitor your wiring for potential insulation flaws, melting or gnawing from rodents. Install a fuse to protect against shortages, and do not try to replace a fuse or a breaker if you do not know what you are doing.


In 2010, a house in San Diego caught fire, and it exposed a significant problem with solar panels for firefighters. Most houses do not have a switch to cut the power from the panels in an emergency, so firefighters cannot put out the fire as quickly or effectively. Moreover, solar energy systems that are used for heat are different from those used for electricity, so they pose a different set of problems. As such, it is imperative that every solar panel system be clearly marked, and that the system have a remote disconnecting switch.


In addition to fire hazards, solar panels also pose potential chemical safety risks to the environment and human health. When solar panels are not properly disposed of, they leak dangerous chemicals, and when raw materials are improperly extracted to make panels, miners are exposed to severe health risks. Furthermore, chemical spills that occur at panel-producing plants endanger the surrounding population and environment.

Like all energy products, solar panels do carry some risks. Without proper installation, maintenance and construction, solar panels can damage the environment and threaten human life. However, the potential dangers of solar panels can and should be easily circumvented by strict regulation and extensive public education.

Tuesday, March 1, 2011

Mushroom Hunting

Preparing a meal with wild mushrooms that you picked with your own two hands is a deliciously gratifying experience. Many prized varieties, including morels, chanterelles, wood ears and oysters, grow in abundance across the United States. So instead of spending a fortune on a few wimpy specimens or some dehydrated space food, take a relaxing walk through the woods and find yourself a fresh feast of fungi.

Morels tend to grow around the base of trees.

Of course, consuming wild mushrooms can be dangerous, even lethal, if you cannot adequately distinguish the edible from the poisonous. Although there's no single, easy method for discerning fungi friends from foes, if you familiarize yourself with the varieties in your area and learn how to identify them, you can safely collect wild mushrooms and bring them to your dinner table. 

Chanterelles like mossy, coniferous forests.

Before you head out into the woods, purchase a mushroom identification book with spore prints and full descriptions. Focus at first on the most common edible mushrooms and the most deadly varieties, especially the Death Cap and the Destroying Angel.

After you've gained a little knowledge, it's a good idea to go on a foraging expedition with an expert mushroom hunter or a foraging group. They'll be able to show you the best places to start your search, and they will be able to point out mushrooms to avoid. Search for mycological societies in your area: they frequently offer beginner courses on mushroom hunting, and they're almost always excited to see a new face.

Oyster mushrooms are some of the few known carnivorous fungi.

When you're out on the prowl, always practice safe and proper collection techniques: wear gloves, avoid rubbing your eyes or lips, and use a walking stick to gently push aside foliage, trying not to disturb local flora and fauna. When you find a mushroom, cut it with a knife and make a note of where you found it, including what it was growing on. Some poisonous mushrooms closely resemble edible varieties, and you may need information about its habitat to distinguish it. Try to select young, fresh mushrooms without insect damage: older mushrooms can change color, making them harder to identify correctly. Carry your mushrooms in a porous sack or a basket so that the spores can leak out and grow a future fungal generation. If you are foraging with a group, let others know when you find a mushroom trove - it's proper etiquette.

Never try to identify mushrooms in the field. Instead, bring them home and compare your live specimens to the pictures in your field guide, consulting the descriptions to match the habitat of the mushrooms you found. In the beginning, it's safest to show your mushrooms to a mushroom expert - even if that means sending a picture through email. As you continue to see and hunt mushrooms, you will learn how to recognize safe and unsafe varieties.

If you're having trouble identifying a mushroom, make a spore print by cutting off the stem of the mushroom and put the cap gill-side-down on a sheet of white paper with a sheet of black paper taped to the back. Cover the cap with a jar or a bowl and let it sit for 12 hours. The spores will settle, and you will be able to see their color, which you can match to the spores in your field guide.

For the serious mushroom lovers out there, consider growing your own mushrooms. Several companies have begun selling spore starter kits - all you need is a dark, damp place and a nice moldy log. 

Thursday, February 24, 2011

Measuring Solar Panel Efficiency

In a climate of rising fear over dwindling fossil fuels, homes and businesses have begun installing solar panels to augment or replace their current energy systems. These panels are relatively simple to maintain, but dirt and improper placement can significantly decrease their power output. In order to ensure that you are obtaining the optimal value from this product, you should regularly check the efficiency of your solar panels. This is a simple procedure, requiring little more than multimeter, and it will maximize your savings.


First, you need to determine the area of your panels. If you don't have that data from the installation, just use a measuring tape.

Second, you need to figure out the maximum solar radiation for the exact spot on Earth where your solar panels are sitting. Essentially, this is a measurement of how much power the sun is bringing to your location — i.e., the maximum power your solar panels could theoretically provide, keeping in mind that current panels achieve only a maximum of about 20% efficiency. You can measure solar radiation with a solar meter, or you can look at the database on the National Renewable Energy Laboratory's website, which provides average solar input for various regions throughout the year. 


Now you need to figure out how much power your panel is actually providing. Use a multimeter to measure the voltage and current that your panel is producing, then multiply these figures to calculate the power produced (P = VA). Keep an eye on your units — your panel area should be in meters squared, and your power should be in kilowatts.

To determine your panel's efficiency, just divide the power output of your solar panel by the solar input of your location (both in kilowatts per meter squared) and multiply by 100. If the number is lower than it should be (around 20), you may need to clean your panel, adjust its angle or ask a professional to inspect it. 

Wednesday, February 23, 2011

Plastic Waste Management: Facts and Fictions


Plastic is everywhere, and it's almost impossible to avoid. From cellophane wrapping to the accessories in our cars, nearly every aspect of our lives contains something made of plastic. Unfortunately, this wonder-material wreaks havoc on the environment when it sits in a landfill. While some companies have begun to recycle it, the same qualities that make plastic so appealing — its light weight, cheap cost and durability — make it a challenge to do so.


Contrary to widespread advertisements, the physical act of recycling a plastic product isn't as easy as it seems. Unlike metal and paper, which are of relatively uniform composition, plastic comes in many varieties, and they cannot be recycled together. Plastics are composed of certain types of resins and fibers  that's what that number inside the triangle of arrows indicates. Different plastics require different processes to be recycled. Some are easier than others. Water bottles and milk cartons (numbers 1 and 2) can be easily melted down, but others, like plastic pipes, cling wrap or food storage containers, require special chemicals and equipment that most recycling centers don't have.

Because plastic is so cheap to produce, recycling it has to be cheap as well  no company will recycle something if it can't make a profit. For number 1 and 2 plastics, this balance is manageable, because these plastics can be recycled at a low cost and in high volume with relatively inexpensive chemicals and equipment. These plastics can also be used for a wide variety of products once they are broken down, so they have a wider application with a bigger profit margin. However, harder plastics require much more energy and expensive materials to recycle, and they cannot be reused in as many lucrative ways. As such, most recycling companies cannot make a significant profit, so they do not try to recycle these more difficult plastics.


Unfortunately, many people harbor misconceptions about recycling, and some plastic companies even actively attempt to disseminate misinformation. One of the primary misplaced beliefs is that because we recycle plastic, it's perfectly environmentally friendly to continue buying and using it. As a result, most people will actually buy more of it. In actuality, though, most plastic waste is either not recycled at all or recycled into a product that itself cannot be recycled. Thus, rather than reducing the use of plastic, consumption actually increases, and recycling only delays the plastic's entrance into a landfill.


Because it is difficult to turn recycled plastics into new products as cheaply or effectively as it is to make them with virgin plastics, and because many people feel that they're safe buying plastic because it will simply be recycled, the consumption of plastics and the production of virgin plastics has not subsided. There has been no decrease in plastic objects entering landfills, and even more new plastic objects are being created. Yet in order for plastic waste management to be truly effective, less virgin plastic must be produced. The methods of recycling all plastic products must also be improved to make recycled plastic more versatile and cost effective, and consumers must be educated about what happens to their plastic so that they stop purchasing as many plastic products. 

Monday, February 21, 2011

Installing a Solar Panel at Home

These days, the cost of fuel rises almost as fast as concerns about global warming and funding for terrorists. Solar energy is becoming an attractive alternative to petroleum and coal, and you have probably even seen arrays of photovoltaic cells on large office buildings. Unfortunately, the trend is growing less rapidly in residential areas, largely because of the upfront cost, the aesthetics and the presumed hassle of installation. However, these disinclinations are generally misguided. While solar panels are certainly not cheap, there are a plethora of tax rebates available on state and federal levels, and the deduction -- or elimination -- of your electricity bill will pay you back and then some over time.

If you're particularly stingy and love breaking out the power tools, like my dad, you can lower the upfront cost of a panel even more by installing it yourself. Be advised that if you aren't an electrician or an avid do-it-yourselfer, this project probably isn't for you, and you will likely wind up saving yourself a lot of money, time and pain by simply calling in a professional. If you can use a ladder, a stud-finder and common sense, though, you can probably at least perform the basic setup.

The first step in setting up a solar panel is making sure you can legally install it. Check with your homeowner's association (HOA), unless you live in one of the following states, which have laws protecting solar access rights: Alaska, Arizona, California, Colorado, Delaware, Florida, Idaho, Maine, Maryland, Massachusetts, Nevada, New Jersey, North Carolina, Oregon, Vermont, Virginia and Wisconsin.

The following states have have guidelines that offer homeowners some leeway in installing solar panels, but you should still check: Georgia, Indiana, Iowa, Kansas, Kentucky, Minnesota, Missouri, Montana, Nebraska, New Hampshire, New Mexico, New York, North Dakota, Ohio, Rhode Island, Tennessee, and Utah.

If you live in one of the other states, start pressuring your government to grant you solar access rights, and in the mean time, be sure to check with your HOA before you install anything.

No matter where you live, you'll also need to obtain a building permit, so contact your local building authority (county and city). In some states, you actually have to be licensed to install solar panels. You will also have to have your solar panel inspected, and you will have to obtain permission from the power company to connect. (If you hire professionals, they take care of all this.)

The second step is to select the optimal spot for a panel. You want to put it in the place that will receive the maximum amount of sunlight at noon. Typically, this is the south facing part of your roof, but if you have several trees or a large shadow-casting building on the south side, you may need to hunt for a better spot. Also, you need to make sure your roof is sturdy enough to hold a panel, or you're going to wind up with a costly hole. You certainly don't have to install a panel on the roof; you can also put it on a pole in the yard, but these take up more space and are easier to see from the road (if aesthetic appeal concerns you).

In addition to where you put your solar panel, you will have to determine the optimal angle for your panel. The basic formula for this is adding 15 degrees to your latitude in the winter and subtracting 15 in the summer (yes, this means you have to adjust your panel throughout the year). If you really want to maximize your solar energy output, multiply your latitude by .9 and add 30 degrees to your latitude in the winter; subtract 2.5 degrees in the spring and autumn; and subtract 52.5 degrees from the winter angle in the summer.

When you have optimized the setup location and angle, you are ready to begin installation. Most solar panel kits come with a mounting apparatus. Typically, this involves two metal rails and a metal piece that screws into the panel and slides in between the rails, kind of like the sliders for a drawer. EasyJack and Tile Trac are the most common brands.

For the installation, you will need a stud-finder or the blueprints of your house, a drill with a pilot bit, steel bolts, a ladder, roof flashing or caulk, and of course a solar panel kit.

1. Use the stud-finder to find the studs on your roof. You can also look at your blueprints, but this is less reliable. You need to drill into studs because they offer the sturdiest support and are less likely to splinter or break.

2. Measure how far apart the holes on the mounting rails are, and drill holes in the studs this far apart. Use a pilot bit so you don't split the wood.

3. Line up the holes in the mounting rails with the holes you drilled and insert steel bolts through them. Seal the area around the bolts with roof flashing or caulk so your roof doesn't leak.

4. Put the mounting interface on the solar panel (each kit has its own straightforward instructions) and slide the interface into the rails.

5. Make sure the solar panel is at least 6 inches from the roof: this will give it proper ventilation and keep it operating efficiently (and keep it from starting a fire). Adjust it to the angle you calculated.

6. If you have background in electric work, connect the conduit of the panel to the inverter. If you don't know what that means, call a professional electrician.